Add Camera(s) to Alder App
paring camera to Alder app
This article will outline step-by-step instructions on paring a new camera to the Alder app.
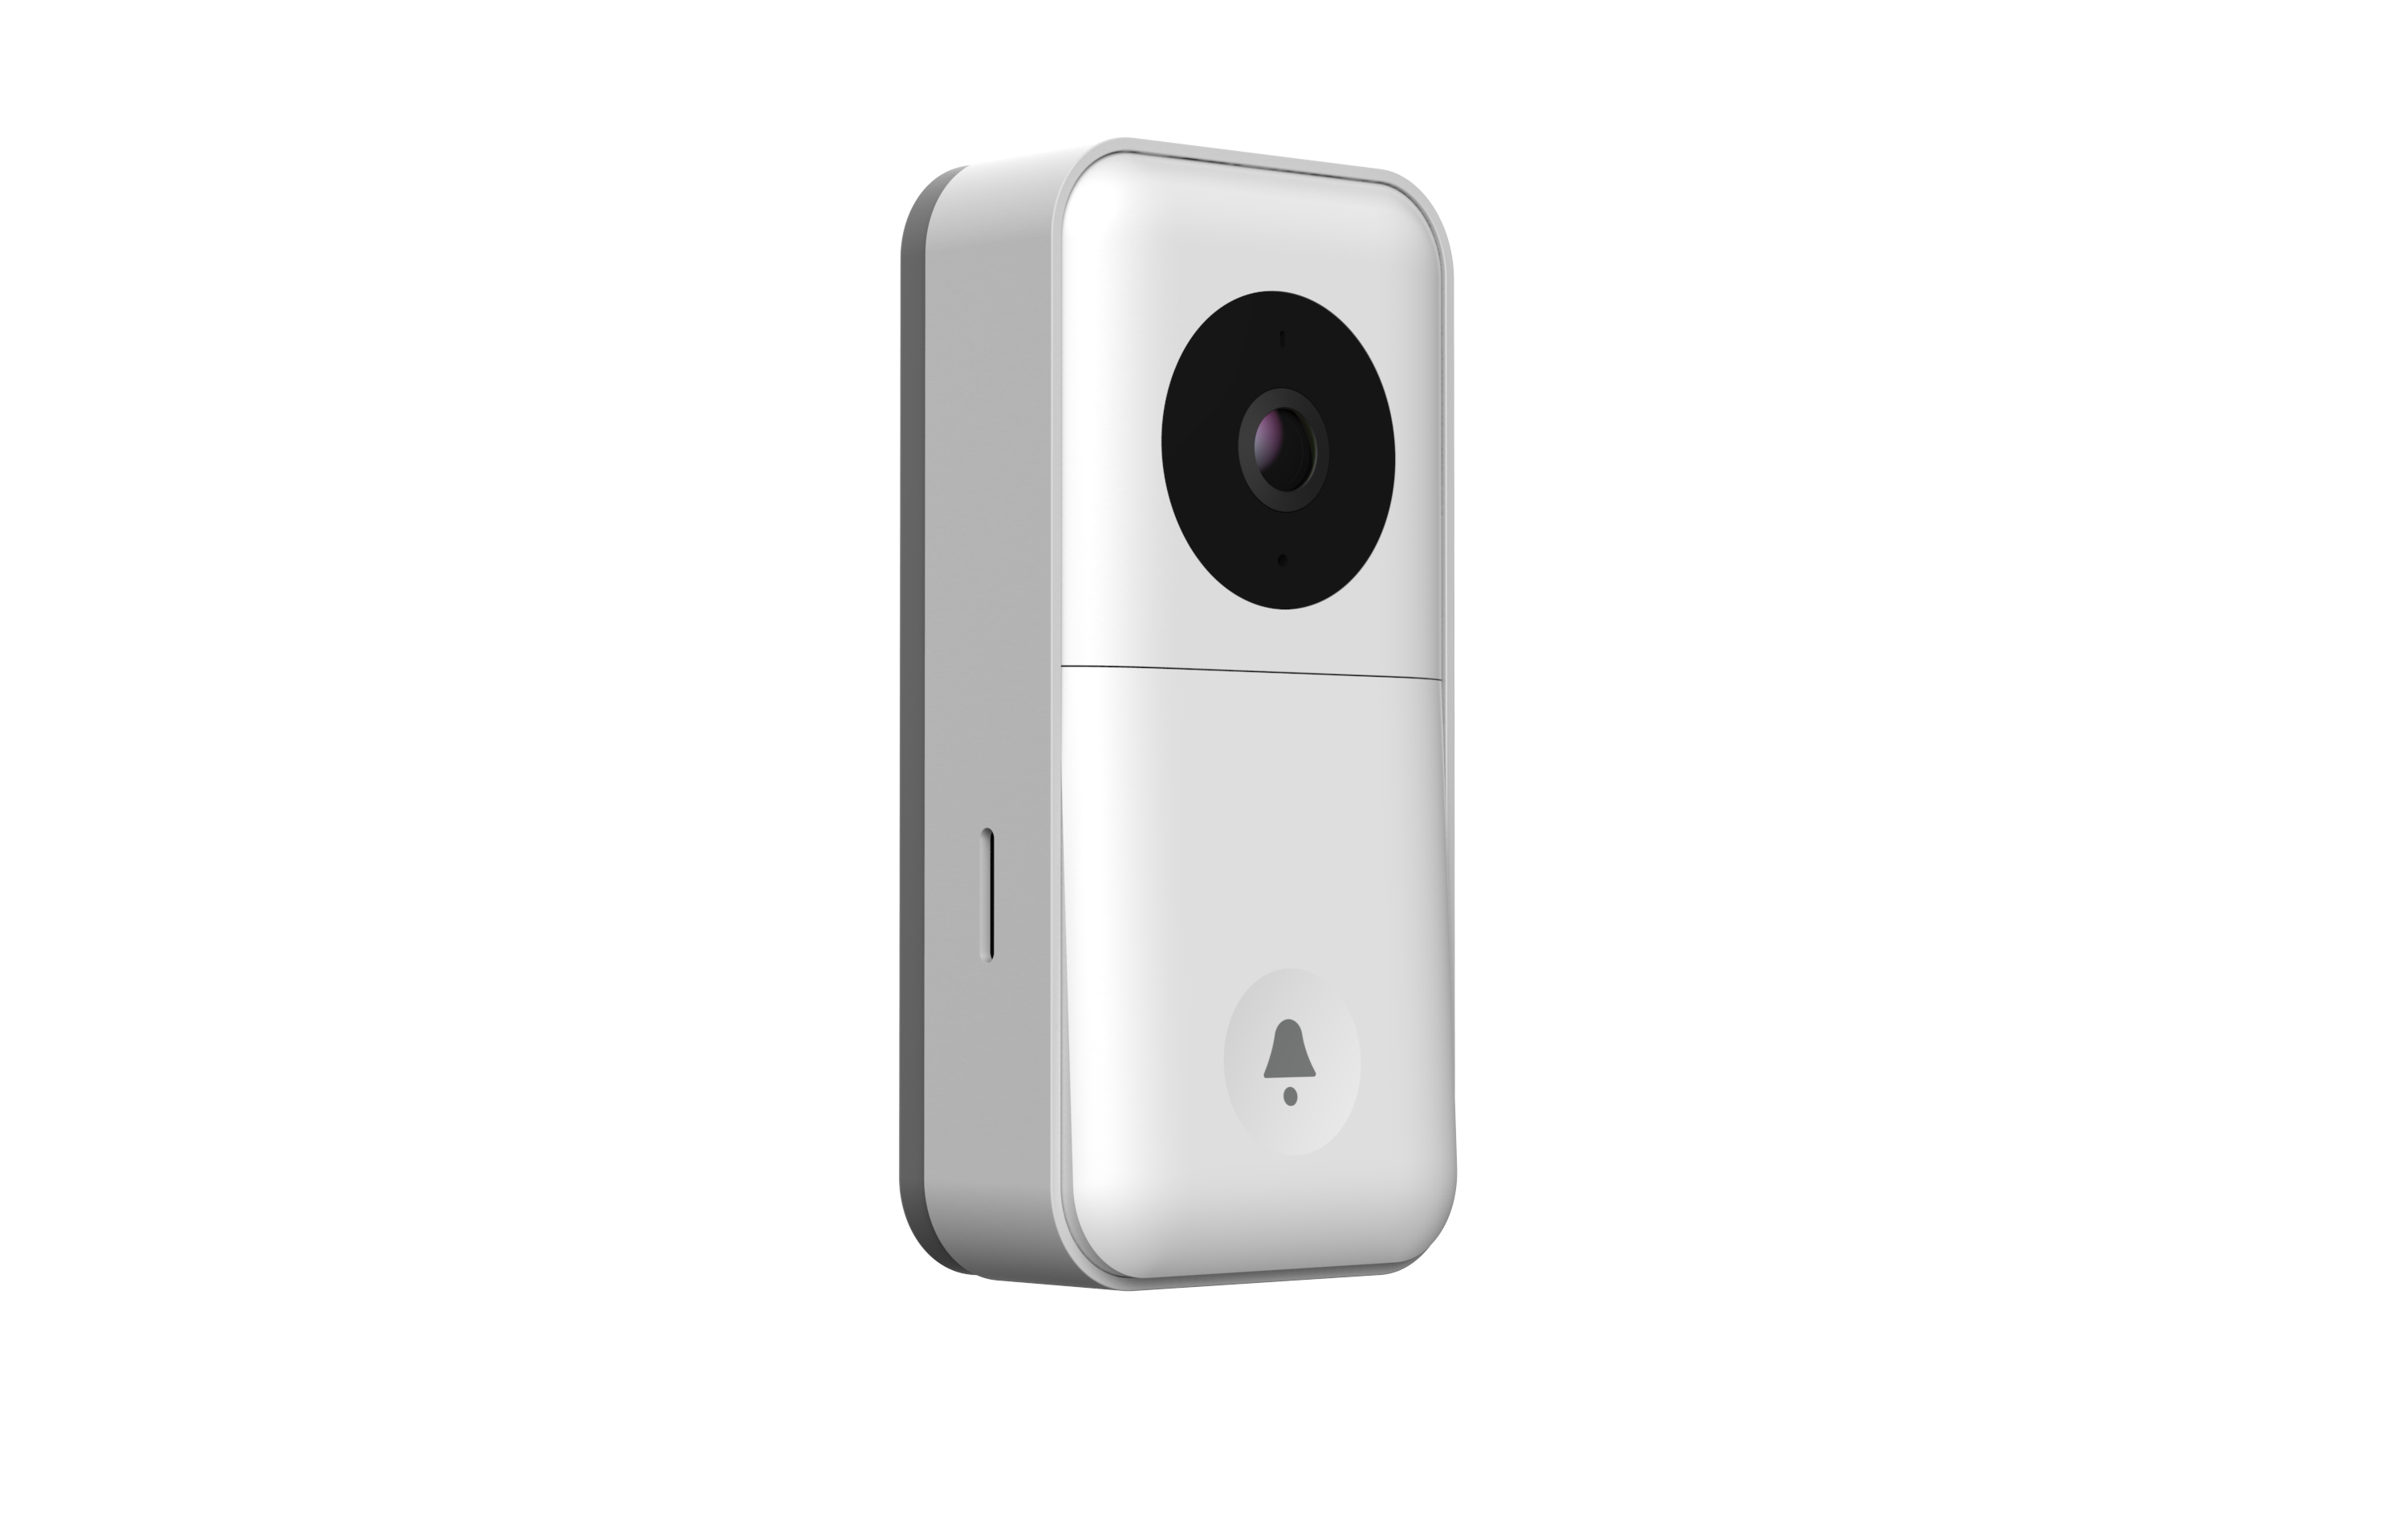
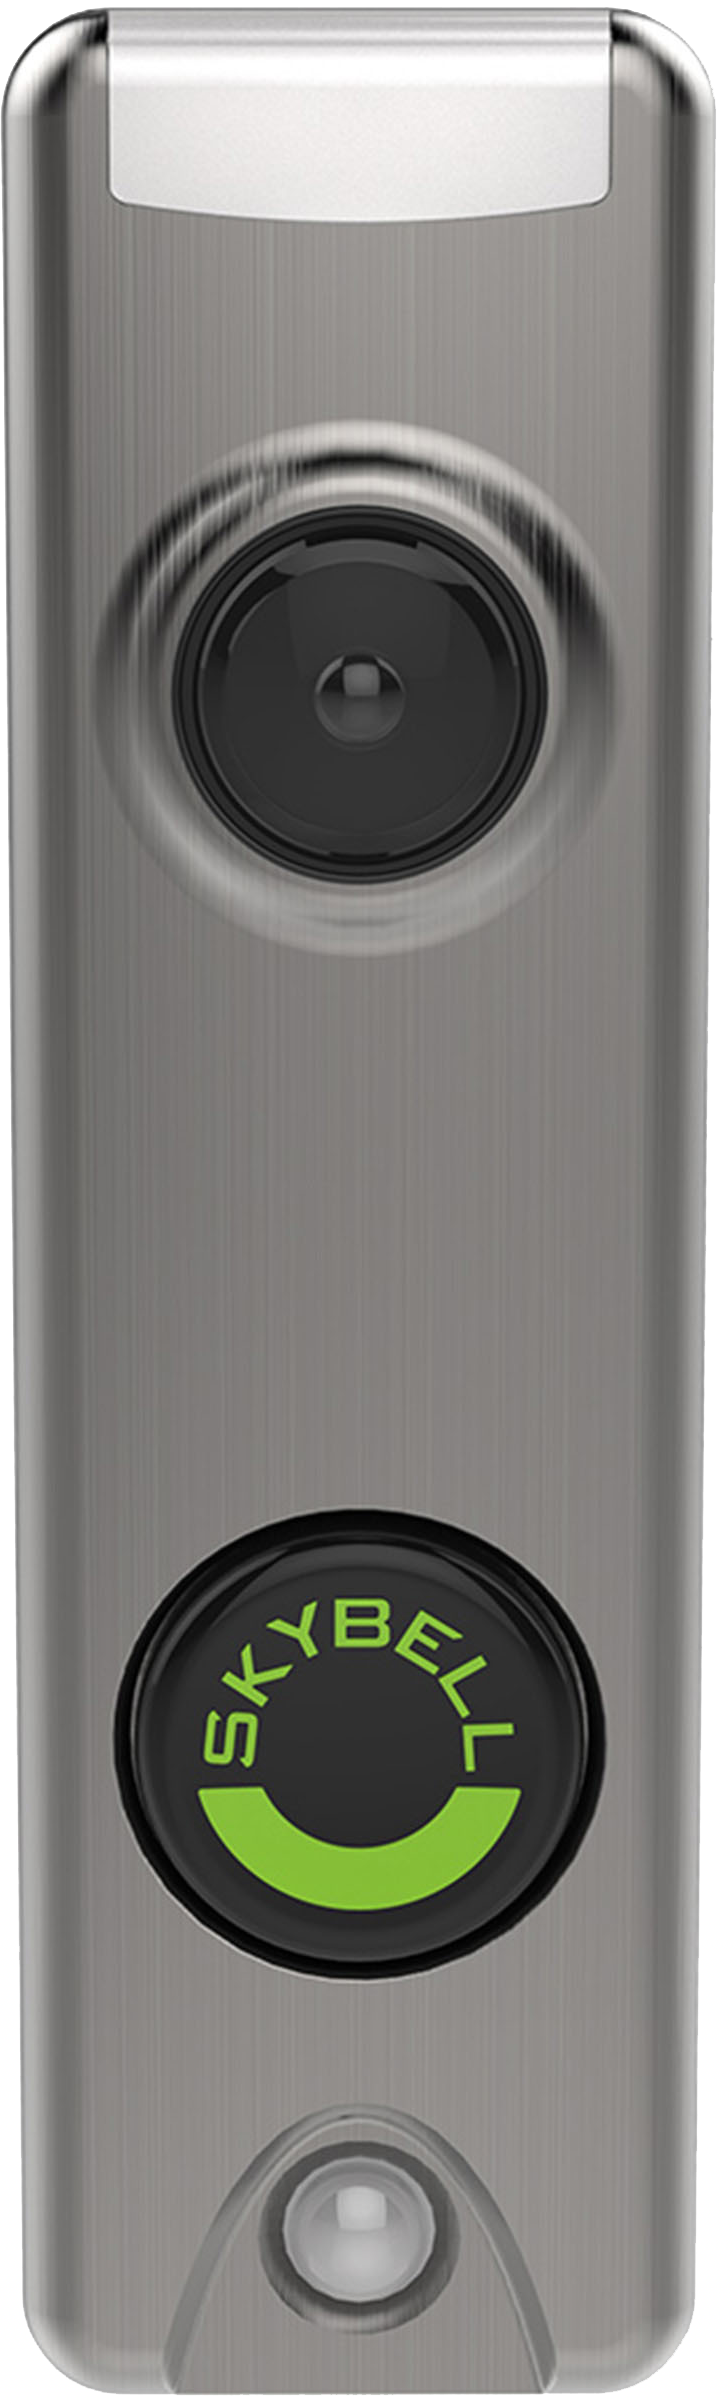

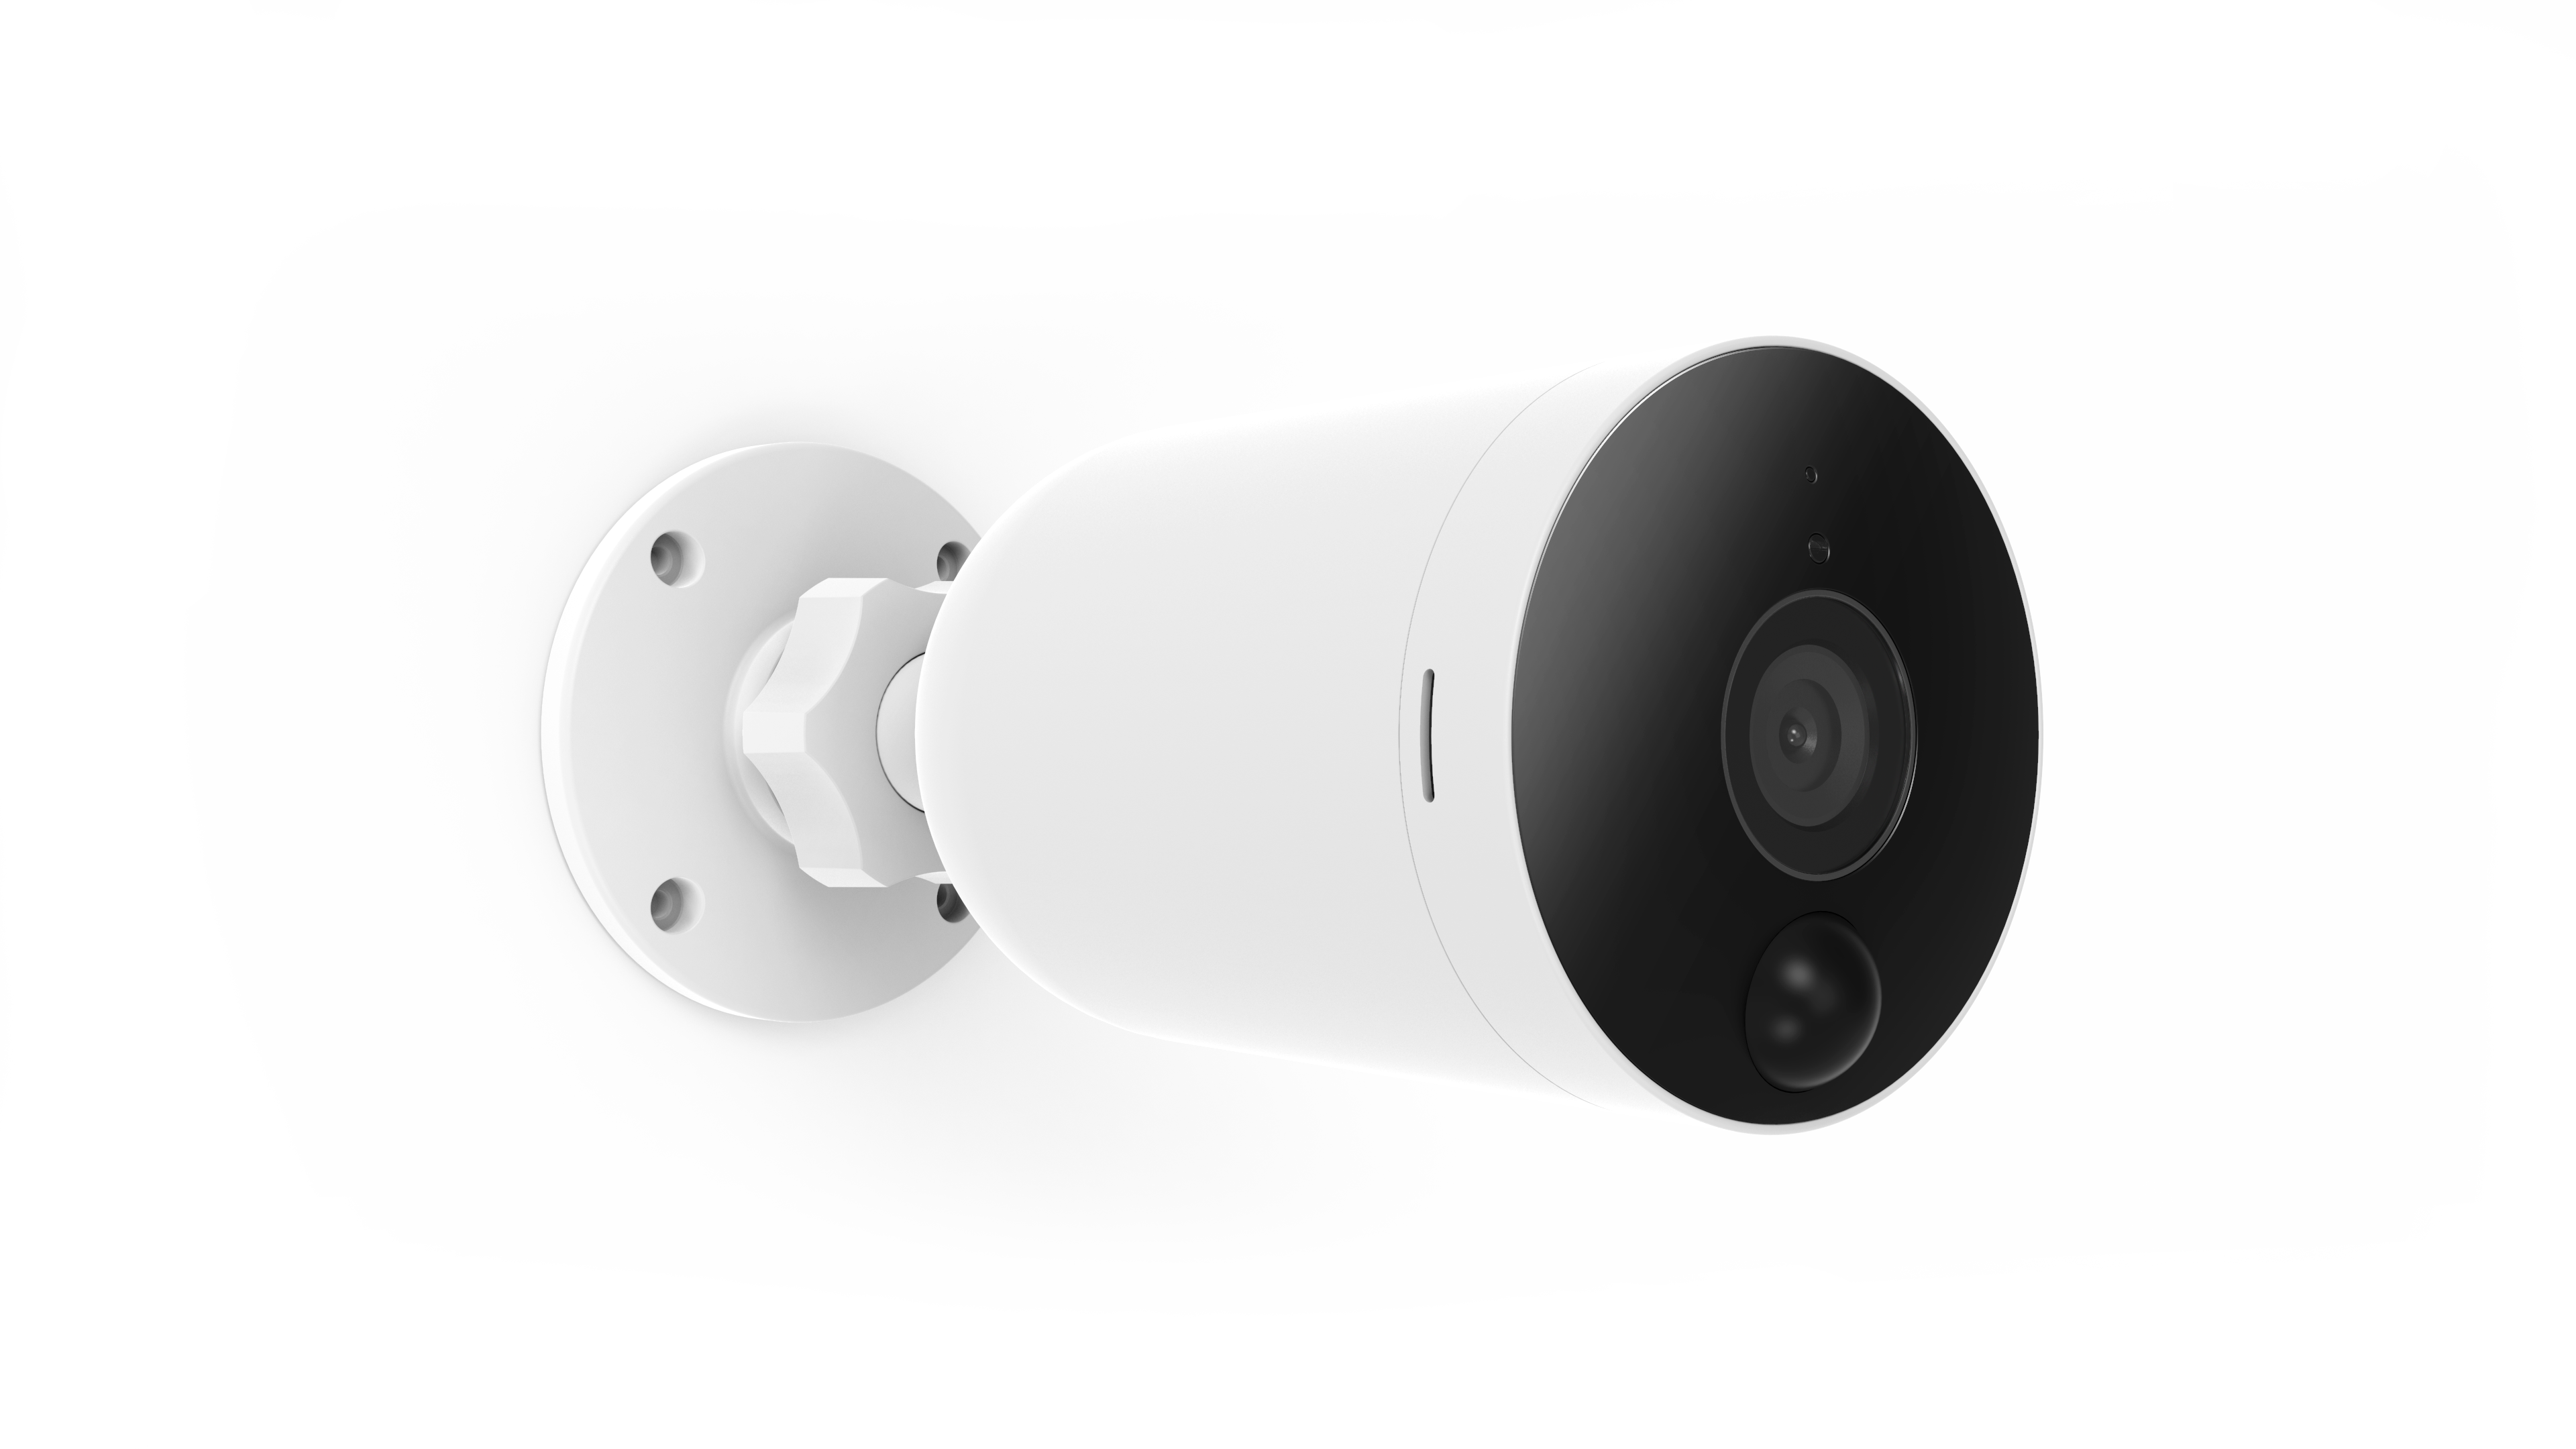
Alder provides several camera options: Kami Doorbell, Skybell Doorbell, Indoor Camera, Outdoor Camera (battery operated)
For Detail Specs on Cameras Click Here
To learn how to mount or to install your camera. Click on the appropriate link once you have finished paring your camera.
Before You Start
- Fully charge the batteries (if needed) with the included battery charger. When inserting the batteries, make sure the batteries are fully seated in the charger, plugged in, and all the lights turn from green to red (indicating charging). Once fully charged, the light turns from red to green (indicating fully charged).
- Check your phone to make sure that it's connected to a 2.4GHz band Wi-Fi network before pairing the camera.
- Make sure the location for the phone and the app is turned on.
- iOS: select the Settings app. Then click on Privacy. Select Location Services. Turn Location Services on. Select the Alder app. Select While Using the App or Always.
- Android: select the Settings app. Click on search and type location. Select App permission. Enable location. If you don't see the location, tap Security & location. Enable location.
Pairing the camera with the app
- Open the app and log in to your account. (For login instructions click here. If you do not have the app you can Download App here)
- Power on the Camera by either plugging it into the outlet or inserting fully charged batteries. The light will flash and you will hear "waiting to connect". If you don't hear waiting to connect, you can reset camera
- Once logged in, tap on the "camera" icon on the bottom right of the app home page.

-
Select the '+' icon to add a new camera

- Under "Add Camera" section, choose the camera that is going to be paired with the app.

- Scan the QR code on the back or bottom of the camera.
- If you hear the voice prompt, click on I heard "Waiting to connect" at the bottom of the screen.

- If you don’t hear waiting to connect click on the link called, "I did not hear it". Reset Camera Link. Use a paper clip to push the reset button in on the camera for a few seconds. Then select Reset successful.
-
Connect to Wi-FI:
- Tap "please choose Wi-Fi" box to chose Wi-Fi (NOTE: this should auto-populate if your phone is connected to your Wi-Fi network before pairing the camera, if not go to step B).
- If the network does not populate in the box, click on "use a different WIFI network"
- Enter the password for the Wi-Fi router then select "Connect to Wi-Fi."

- Face the QR code on the phone directly at the camera. If you hear “QR code scan is successful,” press next. If you did not hear anything, click on the link at the bottom of the screen.

- The camera will go into retrieving pairing status that can take 1-2 minutes until the camera is successfully paired with the app ( you will hear Wi-Fi connected), click next
-
Create a name for the camera. This can be a custom name or the location of the camera. Click Save.

- If you don't need to add another camera click the "X" in the top left corner. The camera is now paired and can be accessed from the "Video" home screen.